
What a metallic floor actually is, on the slab
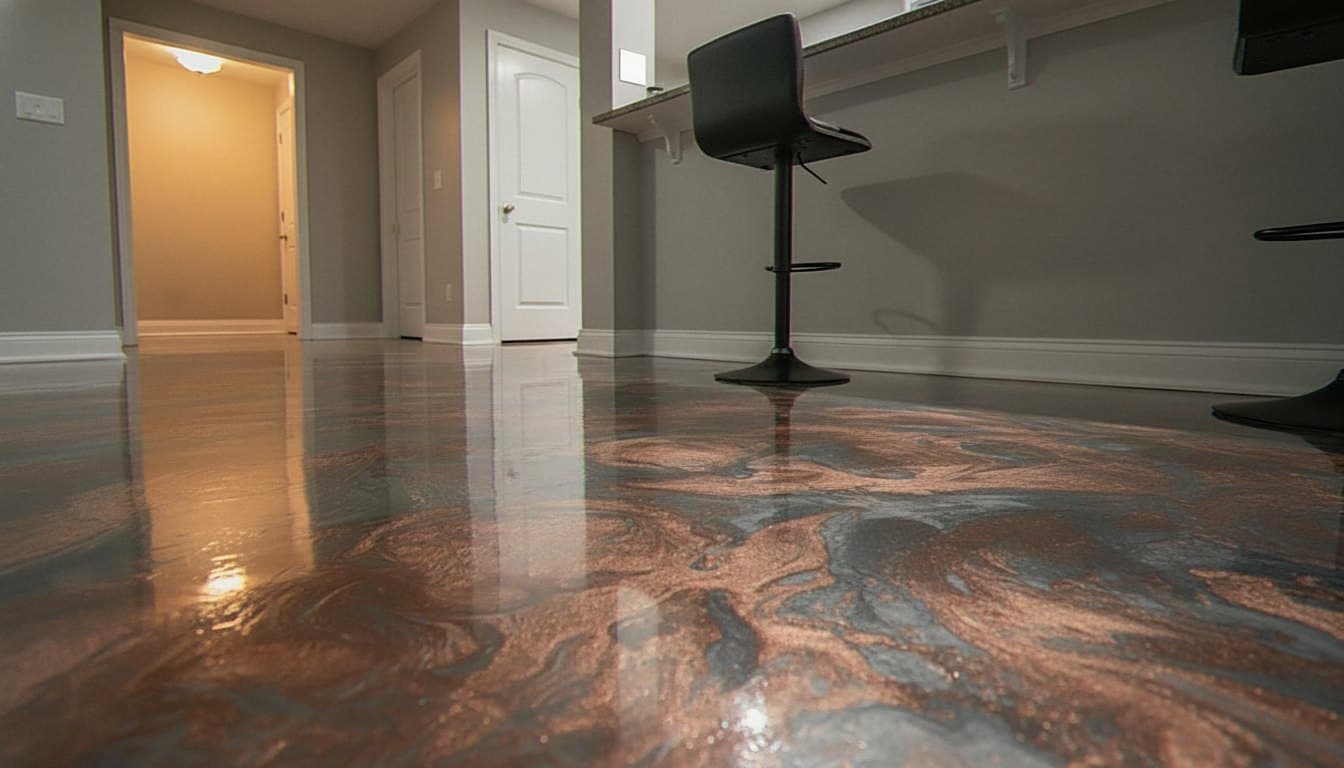
A metallic epoxy floor is the one people send us a photo of and ask us to copy. The swirled copper and slate look reads like poured stone, and nothing off a paint shelf comes close. Here is the honest part. That same blend can look like two different floors depending on the room it lands in. The mica we pour for a sunlit Shelby Township garage will not read the same down in a basement bar under cool LED. So the floor starts with how the light falls, not with a screen grab.
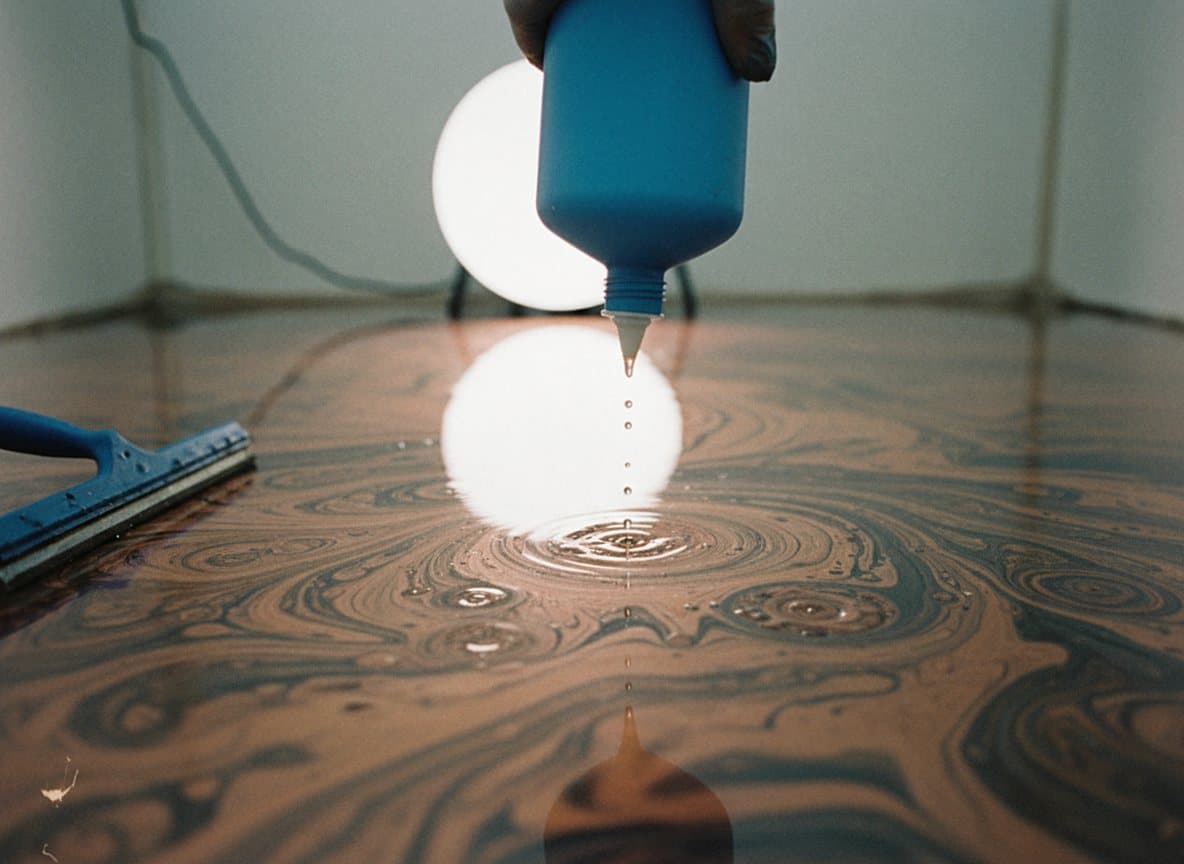
Think of a metallic epoxy floor as our standard system with one coat rewritten. The slab prep does not change. We grind the concrete to a rough CSP 3 profile and prime it to whatever the moisture reading calls for. The base coat is where it differs. Instead of a solid color, we pour a clear or lightly tinted resin loaded with mineral mica, then move it by hand while it is still wet. Alcohol dripped into the wet film opens cells and pulls the mica into ripples. A clear polyaspartic goes over the top once it cures, and that topcoat is what makes the depth read.
- Common blends here run copper on slate, polished nickel, storm blue, warm walnut.
- Sealed under clear polyaspartic, so it takes daylight and warm tires like any floor.
- No two metallic floors come out the same, since the swirl moves by hand.
- Right answer for a basement bar, a show garage, or a commercial entry.
- We bring real sample tiles and lay them on your slab before you pick.
Most metallic epoxy work across the Shelby Township area lands in spaces where the floor is the main event. A finished basement bar off Hall Road. A garage built to show the cars, not just park them. The entry foyer of a small office near Van Dyke. We have poured these from Utica and Macomb Township through Sterling Heights and Rochester Hills. We walk the room in person, carry sample boards, and read the light before any number goes on paper.
If a metallic floor is on the table for a basement bar, a show garage, or a commercial entry, the next step is a site visit with sample tiles laid on your actual slab. The form on this page sends your request straight to our crew. We follow up to set the walk through.
